Crafting a Jewel of a Display: A Comprehensive Guide to DIY Jewelry Holder Stands
Related Articles: Crafting a Jewel of a Display: A Comprehensive Guide to DIY Jewelry Holder Stands
Introduction
With enthusiasm, let’s navigate through the intriguing topic related to Crafting a Jewel of a Display: A Comprehensive Guide to DIY Jewelry Holder Stands. Let’s weave interesting information and offer fresh perspectives to the readers.
Table of Content
Crafting a Jewel of a Display: A Comprehensive Guide to DIY Jewelry Holder Stands
In the realm of fashion and personal adornment, jewelry plays a pivotal role. From delicate earrings to statement necklaces, these accessories elevate any ensemble and reflect individual style. However, maintaining an organized and visually appealing collection can prove challenging. Enter the DIY jewelry holder stand – a versatile and cost-effective solution for showcasing and storing your treasured pieces.
This comprehensive guide delves into the world of crafting jewelry holder stands, exploring various materials, techniques, and design inspirations. Whether you are a seasoned crafter or a novice enthusiast, this resource provides a roadmap to creating a functional and aesthetically pleasing display for your jewelry.
The Importance of a Well-Organized Jewelry Collection:
A well-organized jewelry collection offers numerous advantages beyond aesthetics. Firstly, it facilitates easy access to your pieces, saving time and frustration when searching for a specific item. Secondly, a dedicated storage solution protects your jewelry from damage, preventing tangles, scratches, and discoloration. Lastly, a visually appealing display allows you to appreciate your collection and inspire new outfit combinations.
Materials for Your DIY Jewelry Holder Stand:
The beauty of DIY projects lies in the wide array of materials readily available. You can utilize readily available items from your home or explore unique options at craft stores. Here are some popular choices:
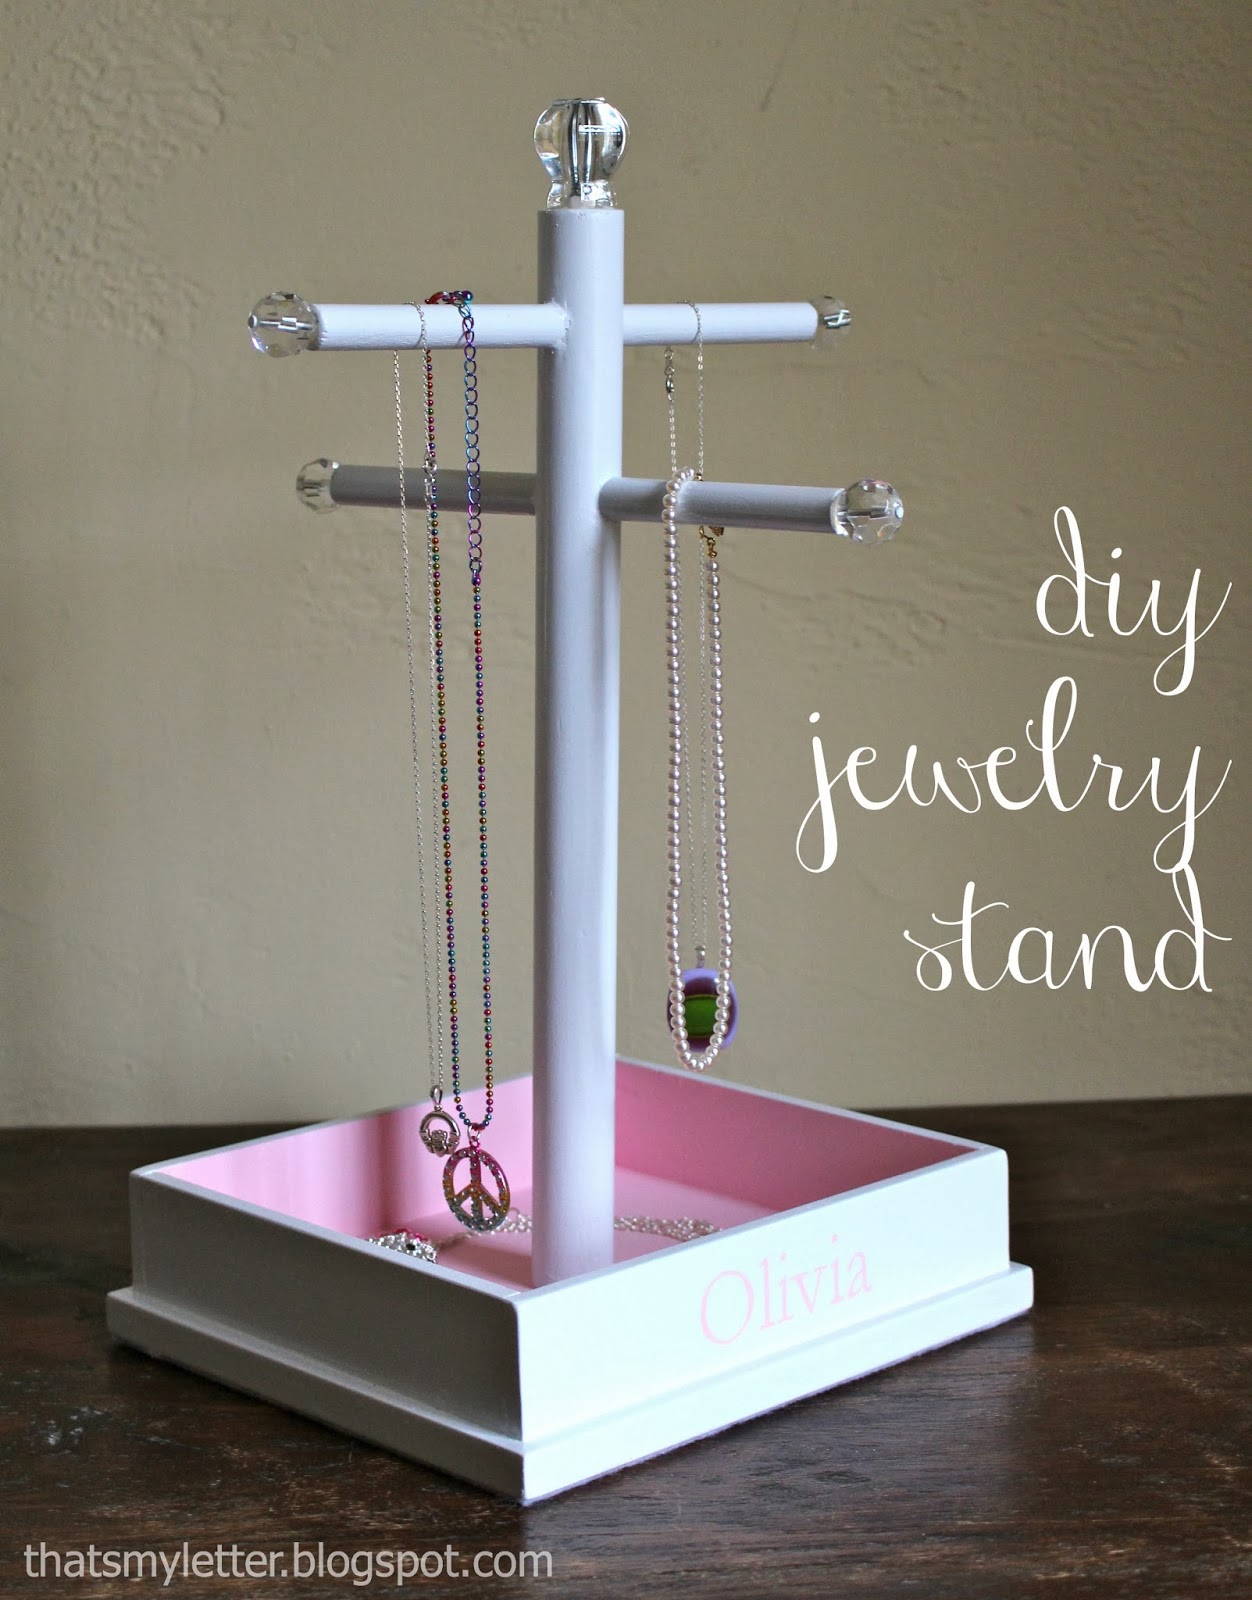
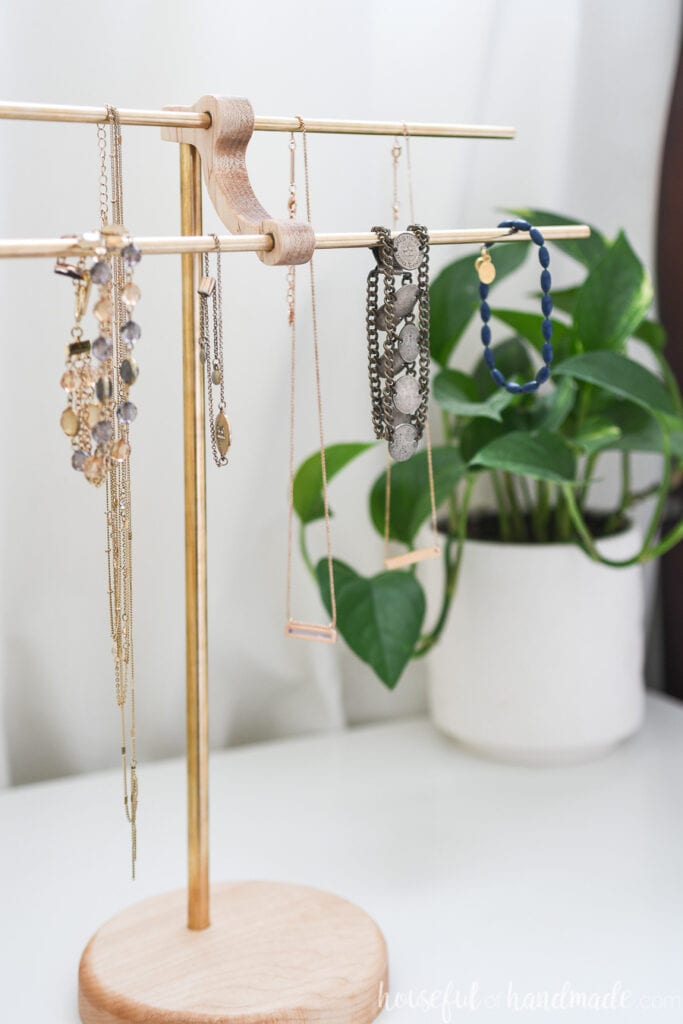
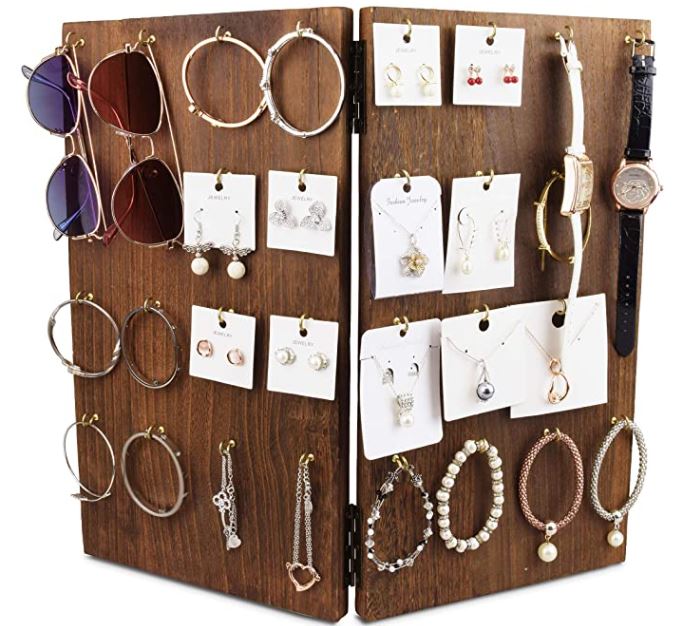
- Wood: The durability and versatility of wood make it an excellent choice for jewelry holder stands. From reclaimed wood to polished hardwood, various options cater to different styles and budgets.
- Metal: Metal offers a sleek and modern aesthetic. Wire, pipe, and sheet metal can be manipulated into intricate designs, adding a touch of industrial chic.
- Acrylic: Acrylic’s transparency and lightweight nature make it ideal for minimalist designs. It offers a clean and contemporary look, allowing your jewelry to take center stage.
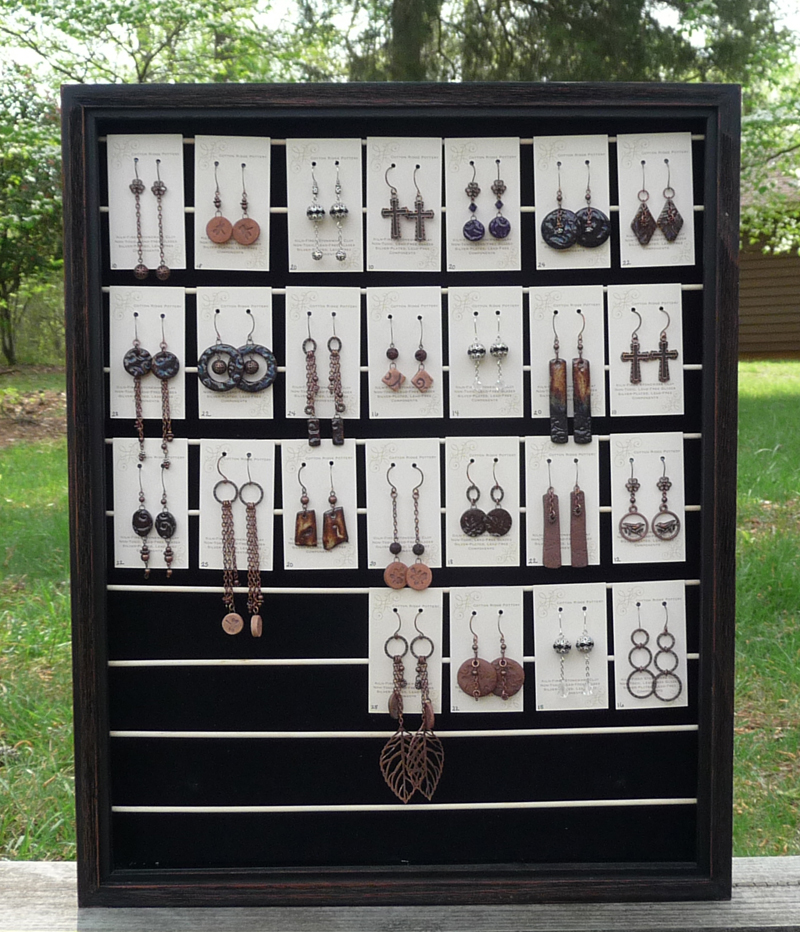
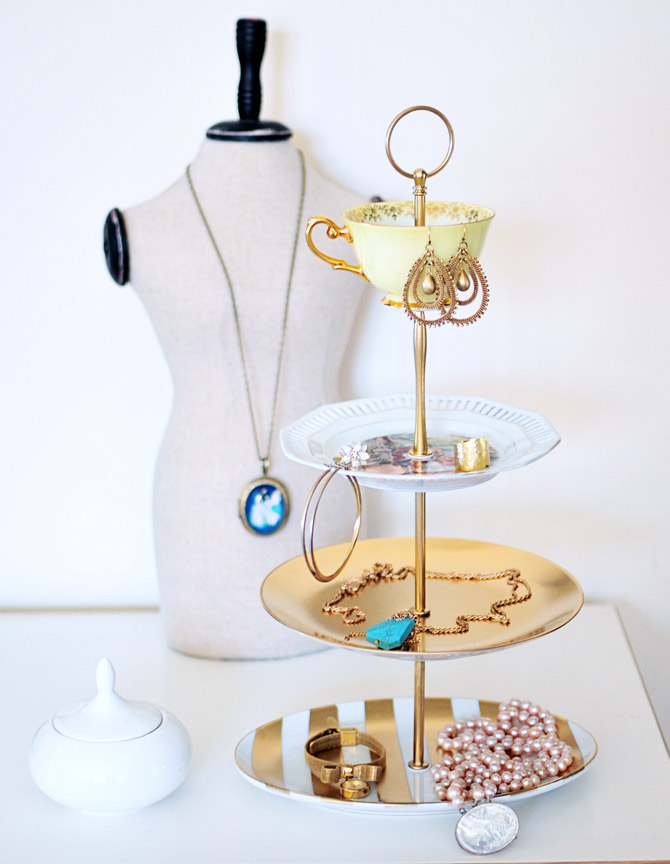
- Upcycled Materials: Embracing sustainability, upcycled materials like old picture frames, wine bottles, and even vintage teacups can be repurposed into unique and eco-friendly jewelry holders.
Techniques for Crafting Your Jewelry Holder Stand:
Once you’ve chosen your materials, the next step involves selecting the appropriate techniques for construction. The complexity of the design will dictate the necessary tools and skills. Here are some common techniques:
- Gluing: Simple designs can be assembled using wood glue or hot glue. This method is ideal for beginners and allows for quick construction.
- Screwing: For more robust structures, screws offer a secure and durable connection. This technique is suitable for wooden frames or metal components.
- Welding: For intricate metal designs, welding provides a permanent bond. This technique requires specialized equipment and skills.
- Macrame: Macrame, the art of knotting cords, can create intricate and bohemian-inspired jewelry holders. This technique involves using string or yarn to form patterns and shapes.
Design Inspiration for Your Jewelry Holder Stand:
The design possibilities for DIY jewelry holder stands are endless. Here are some ideas to spark your creativity:
- Minimalist: Embrace simplicity with sleek lines and geometric shapes. Use acrylic, metal, or wood in neutral colors to create a modern and elegant display.
- Rustic: Utilize reclaimed wood, branches, or natural elements to achieve a rustic and organic aesthetic. Incorporate textures and imperfections for a unique and charming look.
- Bohemian: Embrace a free-flowing and eclectic style with macrame, beads, and natural materials like feathers and shells. Create a whimsical and bohemian display that reflects your personality.
- Geometric: Geometric shapes like triangles, squares, and circles add a modern and architectural element to your design. Use wood, metal, or acrylic to create geometric patterns and shapes.
- Wall-Mounted: Maximize space and create a visually striking display with wall-mounted jewelry holders. This option is perfect for small spaces or for showcasing larger pieces.
FAQs about DIY Jewelry Holder Stands:
Q: What tools are necessary for crafting a jewelry holder stand?
A: The tools required will depend on the chosen materials and techniques. Common tools include:
- Saw: For cutting wood or metal.
- Drill: For creating holes for screws or hanging hardware.
- Screwdriver: For fastening screws.
- Glue gun: For bonding materials together.
- Measuring tape: For accurate measurements.
- Sandpaper: For smoothing surfaces.
- Paint or stain: For finishing touches.
Q: How can I personalize my jewelry holder stand?
A: Personalization is key to creating a unique and meaningful display. You can:
- Incorporate your favorite colors: Use paint, fabric, or decorative elements to add pops of color that reflect your personal style.
- Add embellishments: Incorporate beads, buttons, or other decorative elements to enhance the visual appeal of your stand.
- Display your favorite jewelry: Showcase your most cherished pieces to create a personalized and meaningful display.
Q: What are some tips for maintaining a DIY jewelry holder stand?
A: Proper maintenance ensures your jewelry holder stand remains functional and beautiful:
- Dust regularly: Use a soft cloth or duster to remove dust and debris, preventing buildup and preserving the finish.
- Avoid harsh cleaning agents: Use mild soap and water for cleaning, avoiding abrasive cleaners that can damage the materials.
- Inspect for damage: Regularly check for loose screws, cracked surfaces, or other signs of wear and tear. Repair or replace damaged parts promptly.
Conclusion:
Crafting a DIY jewelry holder stand is an enriching experience that combines creativity, practicality, and personal style. By selecting suitable materials, employing appropriate techniques, and drawing inspiration from various design styles, you can create a functional and visually appealing solution for showcasing and storing your treasured jewelry. Whether you embrace minimalist elegance, rustic charm, or bohemian whimsy, a DIY jewelry holder stand allows you to express your individuality and elevate your personal style.


Closure
Thus, we hope this article has provided valuable insights into Crafting a Jewel of a Display: A Comprehensive Guide to DIY Jewelry Holder Stands. We hope you find this article informative and beneficial. See you in our next article!